

Hello! Welcome to Kylie Bertucci’s Demonstrator Training Blog Hop for June. I’m part of a group of Stampin’ Up! demonstrators from around the world that participate in Kylie’s program for building our businesses. The theme for this year is thank you cards that we make as a way to show appreciation to our customers and teams. Please be sure to click on the names in the list at the end of this post to hop around and view the beautiful projects created by so many talented stampers.
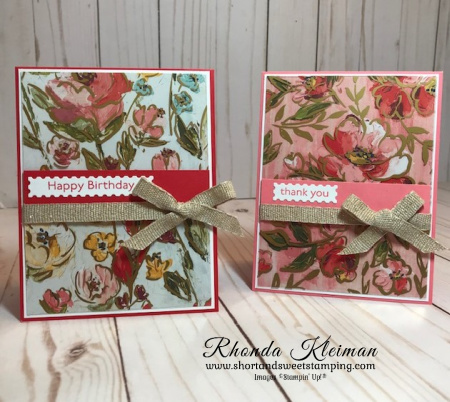
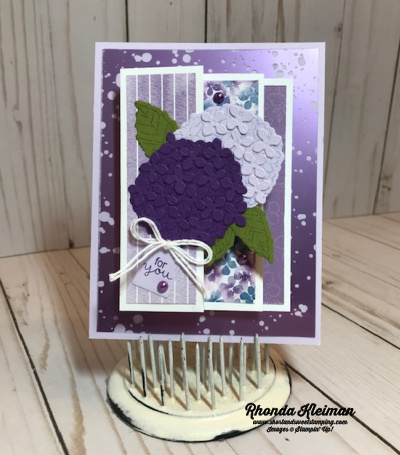
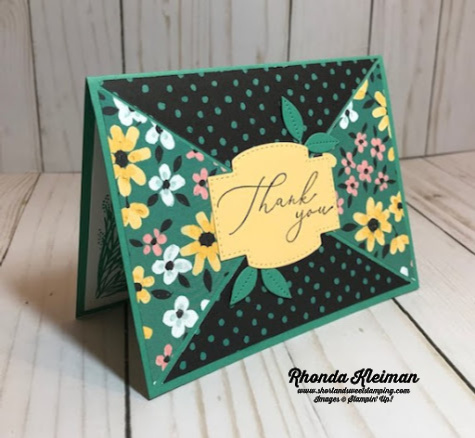
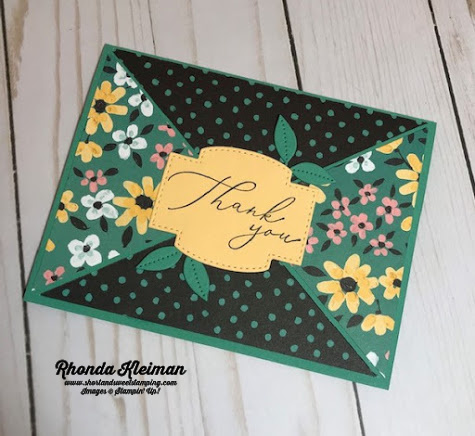
Today’s project features the stunning Expressions in Ink Suite. The Expressions in Ink Designer Series Paper is unlike anything we’ve ever had before and I couldn’t wait to work with it!
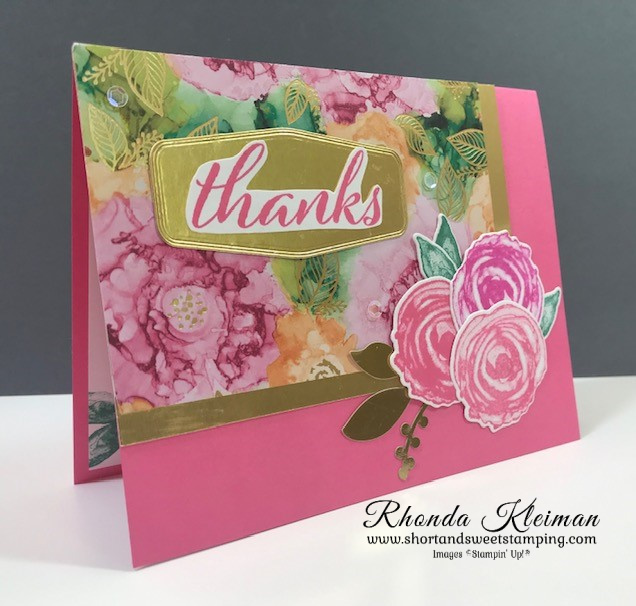
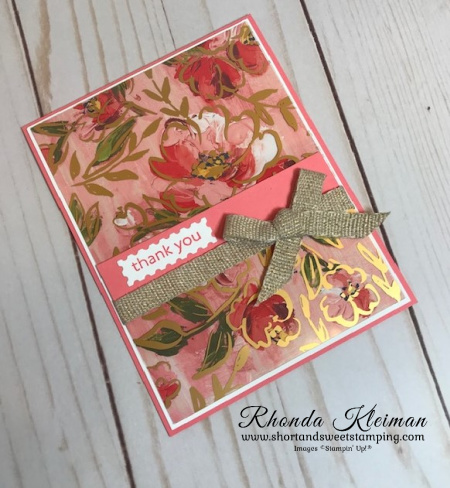
Here is how I made the card.
- Card base – cut a piece of Polished Pink cardstock at 5 1/2″ x 8 1/2″, score at 4 1/4″, fold and crease with a bone folder.
- Cut a piece of gold foil paper at 3 1/4″ x 4 3/4″. Cut a piece of Expressions in Ink DSP at 3″ x 4 1/2″. Adhere pieces together and adhere to card front.
- Stamp the roses as follows: One rose at full strength and one rose stamped off once with Polished Pink ink; one rose at full strength with Magenta Madness ink.
- Stamp three single leaf images with Just Jade ink, stamping off once for one of the leaves.
- Die cut all stamped images with the coordinating Artistic Dies.
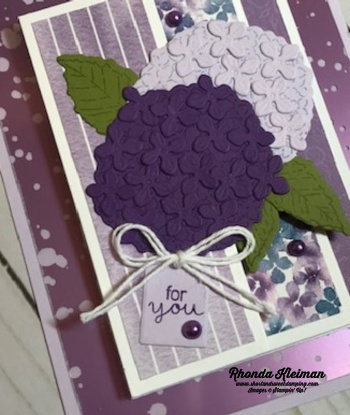
- Make the rose collage by first adhering the roses together with liquid glue. Arrange the Just Jade leaves and adhere to flowers with Mini Glue Dots. Select one of the leaves from the Expressions in Ink Ephemera Pack and adhere with Mini Glue Dots.
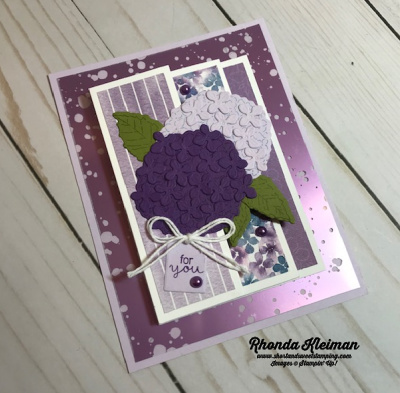
- Adhere entire piece to bottom right corner of the DSP background piece.
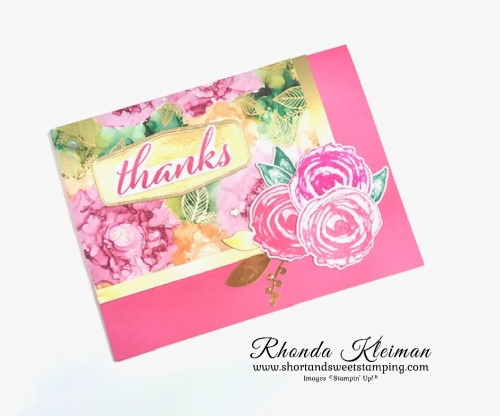
- Stamp “thanks” greeting with Polished Pink ink on scrap piece of Basic White Cardstock and fussy cut.
- Die cut a gold foil label from the Tasteful Labels dies. Adhere the greeting to the label and adhere to card front.
- Adhere a few sequins from the Ephemera Pack to the DSP piece.

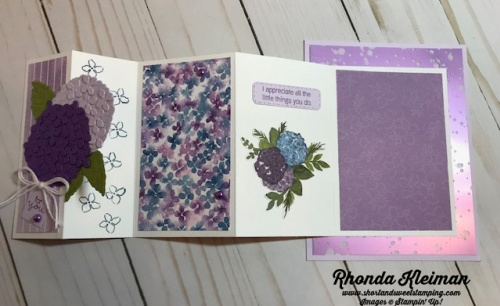
- Cut a piece of Basic White cardstock at 4″ x 5 1/4″. Ink up the rose stamp with Polished Pink ink, stamp off once and stamp in bottom left corner. Ink up the leaf stamp, stamp off once and stamp on the rose. Repeat one more time. Adhere piece to inside of card.

Thanks for stopping by today!


The January-June 2021 Mini Catalog is retiring on June 30th. Many products will be available at reduced prices from 10%-50% off! If you still have items on your wish list, now is the time to shop because these products will only be available while supplies last. Click here to see the retiring list. As of today the following items are no longer available: Hearts & Kisses stamp set; Kangaroo & Company stamp set; Friendly Flamingo stamp set; Ice Cream Corner DSP; Well Suited DSP.

Place an online order between $50 and $149 and use this host code for June. You will receive a free gift from me the following month. If your order is $150 or more DO NOT use the host code. Click here for instructions on using the host code.
Product List  | ||
 |  | |
 | ||
 |  |  |
 |  |  |
 |  |
")
")
 Specialty Designer Series Paper")


 Designer Series Paper")


")


 Designer Series Paper")
 Fine Art Ribbon")


 Designer Series Paper")


")
 Designer Series Paper")


